Overview
The self-hosted installation sets up:- Firmware flashing tools - To flash your Nest thermostat
- API Server - Backend server for thermostat communication (runs in Docker container)
Step 1: Clone the Repository
Clone theopen-source-prototype branch:
Step 2: Install Dependencies
- Ubuntu/Debian
- macOS
Step 3: Run the Installer
The installer will:- Build firmware flashing tools
- Set up Docker container for the API server
- Guide you through flashing your thermostat
The installer is interactive and will prompt you for configuration options. Follow the on-screen instructions carefully.
Step 4: Flash Your Thermostat
The installer will guide you through flashing your thermostat. The process differs for Gen 1 and Gen 2 - choose your device below:- Generation 2 (Easy)
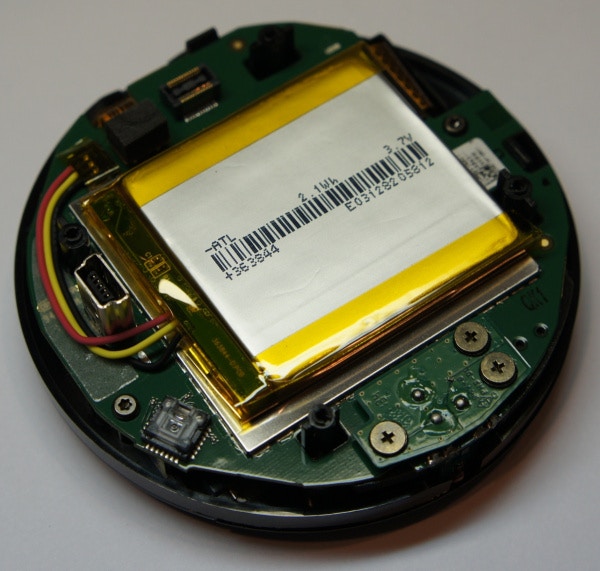
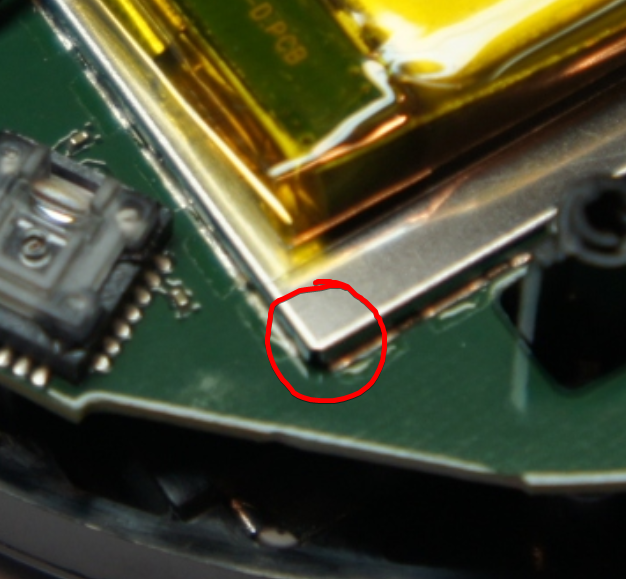
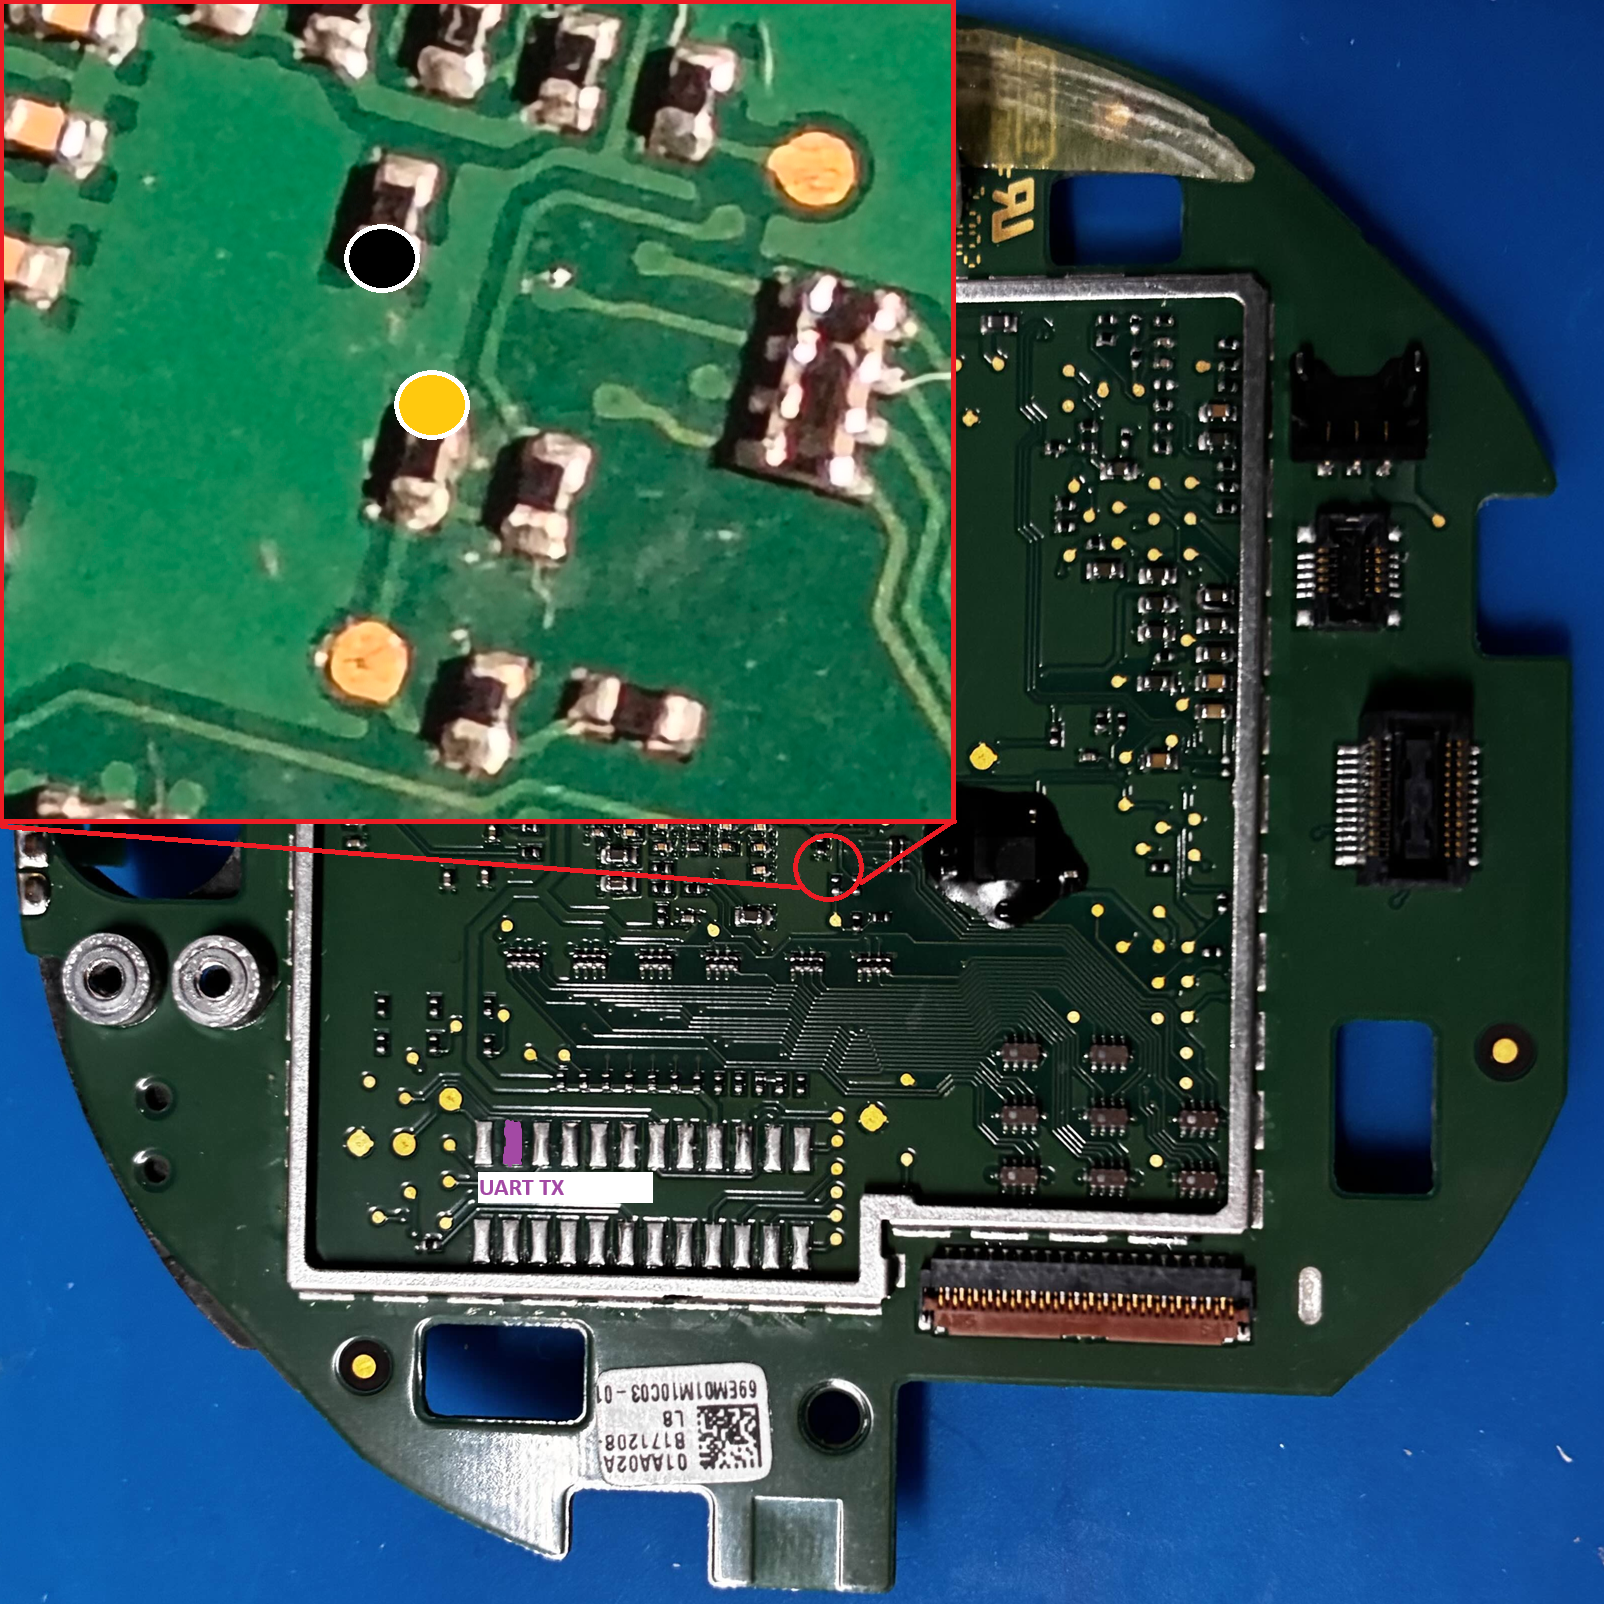
- Generation 1 (Advanced)
Gen 2: Simple USB Method
Follow these steps carefully:- Boot device on backplate - Connect your Nest to the wall backplate and let it fully boot to the home screen
- Remove from wall - Once fully booted, remove the Nest from its backplate
- Connect via USB - Plug the Nest into your computer using a micro USB cable
- Reboot the device - Press and hold down on the display for 10-15 seconds until the device reboots
- DFU mode active - The installer will detect the device and begin flashing
Step 5: Build the server
After you have completed flashing your device, you can build the API server. Run the commands below to build.Step 6: Starting the API Server
After the build completes, you can start the API Server. Copy thedocker-compose.yml.example to your own docker-compose.yml file.
If you want to use Home Assistant/MQTT, follow Step 6 below before starting the server.
Check Running Containers
nolongerevil running.
Test API Server
The defaultdocker-compose will expose the API Server on port you selected in your docker-compose.yml file.You can confirm connectivity with
curl.
Step 6: Home Assistant/MQTT Integration (Optional)
If you use Home Assistant, you can integrate No Longer Evil using MQTT for automatic device discovery.Configure MQTT Integration
Update the following environment variables in yourdocker-compose.yml file:
- NEST_DEVICES:
This should be the IP address of your Nest thermostat and the device ID. Should be separated with a
:. (If you have more than one device, separate them with a,.)
- MQTT_ENABLED:
trueto enable, orfalseto disable.
- MQTT_SERVER_IP: The IP address of your MQTT server.
- MQTT_SERVER_PORT: The port your MQTT server is listening on.
- MQTT_USERNAME/MQTT_PASSWORD: If secure, you can input your MQTT credentials.
- Other MQTT Settings: While not recommended, you can edit the default values for the below environment settings.
- MQTT_HA_DISCOVERY:
Use this to make the device Home Assistant discoverable.
trueto enable, orfalseto disable.
NEST_DEVICES and/or MQTT_* settings, the
server will attempt to initialize your device. You will see in the docker logs where the
server will try and update the endpoint of your device to the environment setting
API_ORIGIN. Your Nest device must be active (screen on) when this runs for the first time.
Subsequent start up will check the local SQLite database to see if the device already exists.
Requirements:
- Home Assistant must have MQTT broker configured (Mosquitto addon recommended)
- MQTT broker must be accessible from your No Longer Evil server
- If using authentication, create a dedicated MQTT user in Home Assistant
Once configured, your Nest thermostats will automatically appear in Home Assistant under MQTT devices with the entity
climate.nest_DEVICE_ID. They will support climate control, temperature monitoring, and scheduling through Home Assistant.Step 8: Configure Networking (For Remote Access)
If you want to access your thermostat remotely (outside your local network):Port Forwarding
Configure your router to forward these ports to your server:
- Port 443 - Thermostat Communication API (HTTPS)
- Port 8081 - Control API (HTTP)
- Port 5173 (or 80/443 if using nginx) - Frontend (if self-hosting)
DNS/DDNS Setup
Set up a domain name or Dynamic DNS (DDNS) service to point to your public IP:
- Use a service like DuckDNS, No-IP, or your own domain
- Configure it to update automatically if your IP changes
🎉 Success!
Your self-hosted No Longer Evil infrastructure is now running! What’s Running:- ✅ API Server (Docker container)
- ✅ Your thermostat is connected to YOUR server
Managing Your Server
Start/Stop Containers
View running containers:View Logs
API Server logs:Next Steps
Credits & Acknowledgments
This project builds upon the excellent work of several security researchers and developers:- grant-h / ajb142 - omap_loader, the USB bootloader tool used to flash OMAP devices
- exploiteers (GTVHacker) - Original research and development of the Nest DFU attack
- guyman70718 - cuckoo_loader_gen1 guide and teardown documentation for Gen 1 DFU mode access
- FULU and all bounty backers - For funding the Nest Learning Thermostat Gen 1/2 bounty


